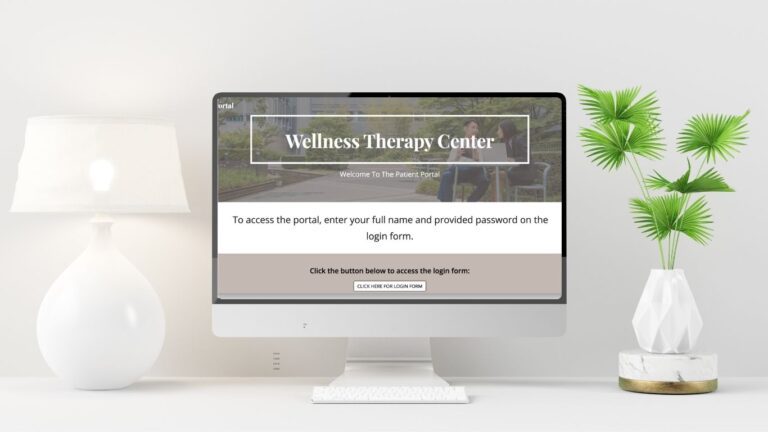
Save Time, Stay Organized And Build Trust With Clients From Day One
The client onboarding process is one of the most important steps in growing and maintaining a thriving private practice. A smooth and professional process builds trust, saves time and sets a positive tone for the therapeutic relationship. After years of fine-tuning my onboarding process as a private speech therapist, I’ve created a system that is both efficient and effective. Whether you’re new to private practice or looking to refine your client intake process, this guide will help.
Here’s a step-by-step breakdown of my onboarding process, including tools I use and a checklist you can customize for your own practice.
Why Is a Strong Onboarding Process Important?
A well-structured onboarding process ensures that both the therapist and the client are clear on expectations, responsibilities and goals. It creates a foundation of trust, saves time by automating administrative tasks and helps you stay organized. More importantly, a clear onboarding process ensures compliance with HIPAA and other regulatory requirements, which is essential for health professionals.
Step 1: Initial Inquiry & Discovery Call
The first step in onboarding is for potential clients to reach out and express interest in working with you. I’ve streamlined this step by creating a booking link on my website that allows new clients to schedule a free discovery call. Here’s how it works:
I use Square Appointments, a free scheduling tool, to create a booking link with my available time slots for discovery calls. Square offers HIPAA-compliant features and integrates seamlessly with my workflow (learn about using Square for payments and scheduling in my other blog post here).
During the 20-minute call, I assess whether we’re a good fit for each other. Most potential clients have already checked out my website, but to be sure they have any potential questions answered ahead of time, I refer clients to my website’s FAQ section before the call. This section answers common questions about insurance, payments, availability, specializations, teletherapy options and more.
Tip: If you prefer to use Google Calendar for scheduling, you can set up a booking page there, which offers similar functionality to Square, but without the reminder text feature.
Step 2: Scheduling the First Appointment
Once we determine we’re a good fit, I schedule the initial evaluation or therapy appointment. I add the appointment to my calendar and the client automatically receives email and text reminders about the session.
Tools I Use:
Square Appointments or Google Calendar for scheduling.
- Automated reminders to reduce no-shows (both tools can send reminders, although Square also sends text reminders).
Step 3: Sending the Welcome Email
After scheduling the initial appointment, I send a welcome email. This includes intake forms, consents and any necessary policies, instructions and office location information. Here’s how I simplify this step:
Google Workspace for EHR: I use Google Forms to create HIPAA-compliant intake forms. These forms are embedded in email templates I’ve pre-written in Gmail. The client completes the forms online, and responses are automatically saved in my Google Drive; no need for the client to email anything back.
For convenience, I have different email templates set up based on referral types (e.g., preschool, adolescent, etc.).
Tip: Let clients know that the forms must be submitted 24 hours before the first session to avoid delays in getting the information you want to review prior to the appointment.
Step 4: Organizing Client Records
Once the forms are completed, I create a dedicated folder for the client in Google Drive. This folder contains all their documentation, organized into subfolders and documents including:
Intake forms
Evaluation reports
Progress notes
Other session-related materials
Organizing files digitally saves time and ensures that everything is accessible during sessions.
Step 5: Setting Up Recurring Appointments
For ongoing therapy, I work with the client to establish a consistent day and time for weekly sessions. This appointment is added to the calendar as a recurring event, ensuring reminders are sent automatically. I find that having a consistent weekly therapy time for each client helps tremendously with reducing no shows and cancellations and makes organizing my therapy calendar (and my life!) much easier.
Additional Tips to Improve Client Onboarding
Here are some best practices to consider:
Automate as much as possible: Automating emails, reminders and document collection not only saves time but also reduces errors.
Clear communication: Using email templates ensures clients receive all the necessary documentation and that they know what to expect prior to the session. Having automated reminders sent to clients is a great way to keep them on track with their therapy.
Follow up: After the first appointment, follow up with clients to answer any questions they may have about the therapy process. You can automate this as well by creating a follow up email using a Gmail template.
Be transparent: Clearly explain policies, fees and expectations to avoid misunderstandings later. This should all be detailed clearly in an office policies form as part of your initial intake forms. If you want to know which forms are essential in a private therapy practice, click the link here to read my post on intake forms.
Client Onboarding Checklist
Here’s a summary checklist you can use and customize for your practice:
Before the First Appointment
- Create a booking link for discovery calls.
Ensure the FAQ section on your website addresses common client questions.
Schedule and conduct the discovery call (20 minutes).
Book the first session and confirm the time with the client.
Send the welcome packet with intake forms and consents via email.
Create a folder for the client in Google Drive to organize their records.
After the Client Submits Forms
Review completed forms for accuracy and completeness.
Save a backup of the forms in PDF format if necessary.
Update the client’s folder with intake forms and any other necessary documents.
For Ongoing Sessions
Schedule weekly therapy sessions as recurring events on Google Calendar or Square.
Confirm automated reminders are enabled.
Follow up with the client after their first session to address questions or concerns.
Setting Your Practice Up For Success
A smooth onboarding process sets the tone for a successful client-therapist relationship. By using tools like Google Workspace and following a structured workflow, you can provide a professional, organized and welcoming experience for your clients—without overcomplicating your systems. Whether you’re refining your current intake process or starting fresh, taking the time to streamline your onboarding will help you build trust, save valuable time and set your clients up for success from day one.
Free Mini Course
Want to streamline your therapy practice? Click the button below for a free webinar on how you can use Google Workspace to simplify your workflow with this affordable EHR system.
Click Here


